

Gallery Walls Don't Have to Be Complicated: A Simple Guide Anyone Can Follow


Have you ever admired those stunning gallery walls on Pinterest and Instagram but thought, "There's no way I could make that look good"?
The good news is—you absolutely can.
Creating a beautiful gallery wall doesn't require dozens of frames, expensive artwork, or an interior design degree. In fact, some of the most stylish gallery walls are the simplest.
If you're decorating your living room, hallway, bedroom, or home office, this easy guide will help you create a polished gallery wall that looks professionally designed.
This post may contain Amazon affiliate links, which means I may earn a small commission if you purchase through my links — at no extra cost to you.
Your support helps me continue creating party tips, decor inspiration, and budget finds. Thank you for supporting my content!
To see the product page, click on the photo or coloured link
Why Simple Gallery Walls Work
Minimal doesn't mean boring.
Using just 3 to 5 coordinating frames creates a focal point without making the room feel cluttered. A simple arrangement is easier to hang, easier to update, and complements almost any decorating style—from modern and Scandinavian to farmhouse and coastal.
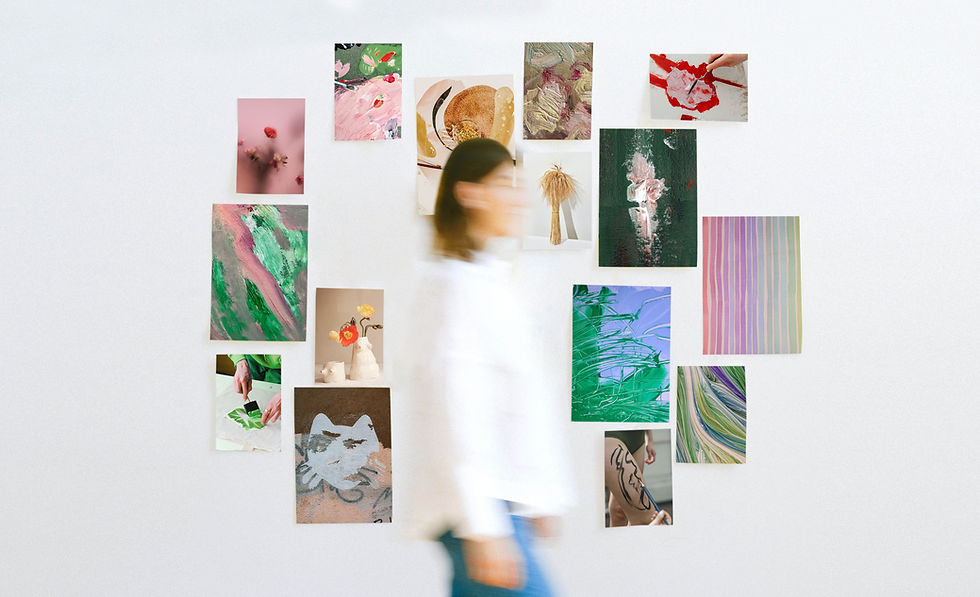
The secret is consistency.
Choose frames that share:
The same colour (black, white, oak or gold)
Similar artwork styles
Matching matting (optional)
A consistent colour palette
Everything instantly feels intentional.
Step 1: Pick Your Colour Palette
Before buying artwork, decide on your colours.
Some easy combinations include:
Neutral & Modern
Perfect for minimalist homes.
Coastal Calm
Ideal for beach-inspired spaces.
Warm Earth Tones
Great for cozy living rooms.
Soft Botanical
Perfect for relaxed bedrooms.
Step 2: Keep the Layout Simple
Instead of filling an entire wall, start with one of these easy layouts.
Option 1 – Three Frames
□ □ □
Perfect above a sofa, bed or console table.
Option 2 – Four Frames
□ □
□ □
Clean, balanced and timeless.
Option 3 – Five Frames
   □
□ □ □
   □
Creates a stylish feature wall without overwhelming the space.
Step 3: Lay Everything on the Floor First
This is the decorating trick professionals swear by.
Before you pick up the hammer:
✔ Arrange every frame on the floor.
✔ Move pieces around until the spacing feels balanced.
✔ Take a photo with your phone.
✔ Make small adjustments before hanging anything.
This simple step saves unnecessary holes in your wall and helps you visualise the finished look.
Step 4: Leave Consistent Spacing
One of the biggest mistakes people make is uneven spacing.
Aim for around 5–8 cm (2–3 inches) between each frame.
Keeping the gaps consistent makes the entire arrangement look polished and professionally styled.
Step 5: Mix Art with Personal Photos
The most inviting gallery walls tell a story.
Mix:
Family photos
Travel memories
Printable art
Inspirational quotes
Botanical prints
Abstract artwork
The combination adds personality while keeping everything visually interesting.
Affordable Gallery Wall Finds
This is a great place to recommend affiliate products such as:
Matching picture frames
Printable wall art
Command strips
Hanging kits
Picture ledges
Wall templates
Neutral art print sets
Level tools for hanging frames
Amazon Finds
Common Gallery Wall Mistakes
Avoid these common decorating errors:
❌ Mixing too many frame colours
❌ Using artwork with completely different styles
❌ Hanging before planning the layout
❌ Placing frames too high
❌ Uneven spacing
Keeping things simple almost always creates the best result.
Final Thoughts
A beautiful gallery wall doesn't need to cover an entire wall or cost a fortune.
With just a few coordinating frames, a consistent colour palette, and a little planning, you can create a stylish feature that instantly makes your home feel more finished and personal.
Remember the golden rule: plan first, hang second.
Lay everything out on the floor, experiment with your arrangement, and only start hanging once you're happy with the design. Your walls—and your future self—will thank you!


Comments