How to Create Your Own Floral Pin with Artificial Flowers 🌸✨
- Yes I Will Marry You

- Jan 8, 2025
- 3 min read
Updated: Feb 25, 2025
Are you looking for a fun and creative activity that adds a splash of color to your wardrobe? Crafting your own floral pin with artificial flowers is not only easy, but it's also a fantastic way to showcase your unique style. These lovely accessories can elevate any outfit, offering a personalized touch that's both charming and elegant. Let’s explore how you can transform simple materials into something beautiful, step by step.
This blog contains Amazon Affiliate links, we are Amazon affiliates and receive a small commission from sales via our blogs. No cost to you. So in advance THANK YOU.
To see the product page simply click the photo.

Floral pins are a beautiful and timeless accessory, perfect for weddings, formal events, or even adding a touch of elegance to everyday outfits. While fresh flowers are lovely, artificial flowers provide a long-lasting, customizable, and cost-effective alternative. Creating your own floral pin is simple, fun, and lets you design a unique piece that matches your personal style.
Here’s a step-by-step guide to crafting your own floral pin using artificial flowers.

🌿 Materials You’ll Need:
✅ Artificial Flowers (roses, peonies, daisies, or any favorite bloom)✅ Floral Wire (thin gauge for easy bending)✅ Floral Tape (to wrap and secure stems)✅ Hot Glue Gun & Glue Sticks✅ Pin Back or Brooch Base (available at craft stores or online)✅ Wire Cutters & Scissors✅ Greenery & Small Embellishments (baby’s breath, pearls, or rhinestones for extra flair)

🌺 Step-by-Step Guide to Creating Your Floral Pin
Step 1: Choose Your Flowers & Design Your Layout
Select artificial flowers in your preferred color scheme and style. Consider mixing large blooms with small accent flowers and greenery to create a balanced and visually appealing design. Arrange them on your workspace to get an idea of how they will look when assembled.
Step 2: Trim and Prepare the Flowers
Use wire cutters to trim the stems of your artificial flowers, leaving about 1-2 inches of wire if they have built-in stems. If the flowers don’t have wire stems, you can attach floral wire to the base with hot glue.

Step 3: Secure the Floral Arrangement
Wrap the stems of the flowers and greenery together using floral tape.
Make sure the flowers sit firmly and don’t move around.
Add smaller flowers and decorative elements to fill in any gaps.
Step 4: Attach to the Pin Back or Brooch Base
Apply hot glue to the back of your floral arrangement.
Secure the pin back or brooch base onto the glued area.
Hold it in place for a few seconds until it sticks firmly.

For extra security, wrap thin floral wire around the base and pin back before adding another layer of glue.
Step 5: Let It Dry & Make Final Adjustments
Allow the glue to fully dry before handling your pin.
Fluff the petals, trim any excess tape or wire, and adjust the design if needed.
If desired, spray a light mist of floral sealant to keep the flowers looking fresh and vibrant.
💡 Creative Ideas for Floral Pins
🌷 Wedding Boutonnières – Match the theme of your wedding colors for a stylish groom’s or bridesmaid’s accessory.🌸 Everyday Accessory – Add a floral pin to jackets, scarves, or handbags for a chic, nature-inspired touch.💐 Gift Idea – Personalize floral pins for birthdays, Mother’s Day, or bridesmaid gifts.🎭 Themed Events – Create floral pins for baby showers, prom nights, festivals, or tea parties!
✨ Final Thoughts
Making your own floral pin with artificial flowers is an easy and rewarding DIY project. Whether you’re preparing for a special event or just want a unique accessory, this craft allows you to express your creativity and style.
💬 Have you tried making a floral pin before? What colors would you choose? Share your thoughts in the comments below! 🌿🌺
#DIYFloralPin #HandmadeAccessories #WeddingBoutonniere #ArtificialFlowers #FloralBrooch #DIYJewelry #FloralDesign #CraftyCreations #FlowerPins


Artificial Lavender 
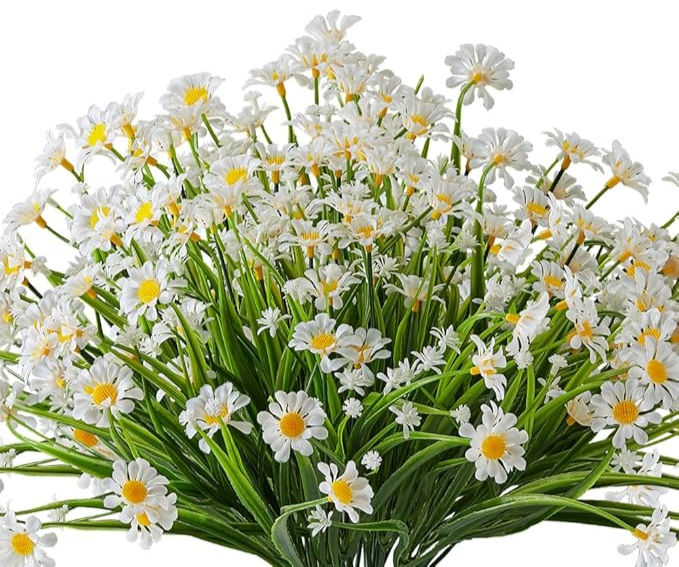
Daisy Flowers Artificial


Comments